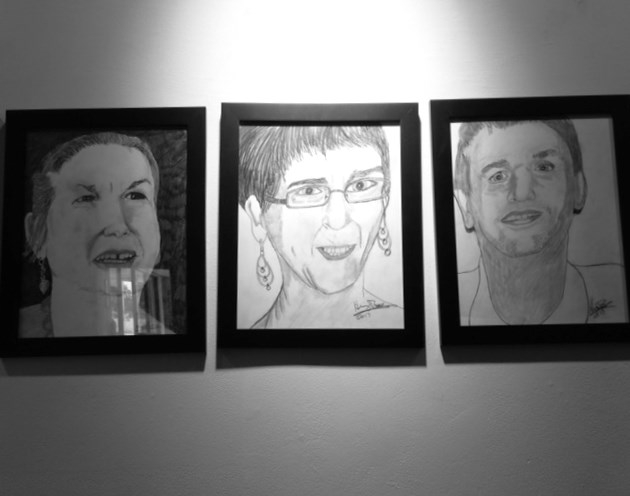
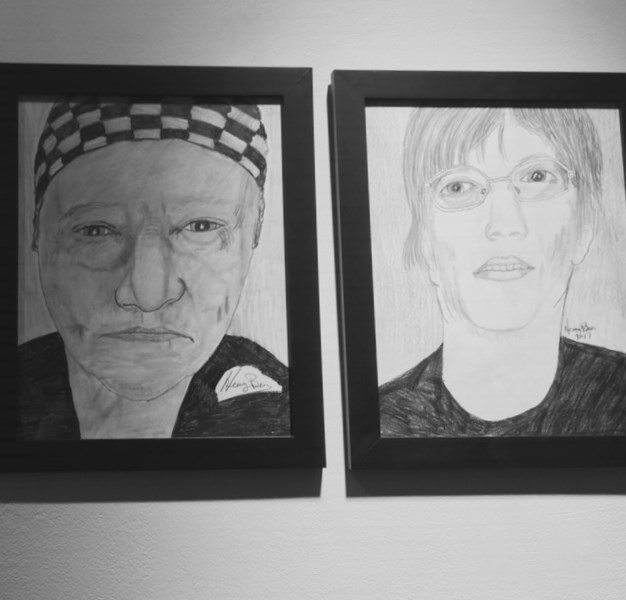
LIFE DRAWING

LIFE DRAWING

Life drawing is also known as figure drawing. It is the perfect starting point for the beginning artist. The basics of art are learned here and members need not worry about meeting advanced or intermediate skill levels. Art classes also provide one on one training by an experienced teacher, art books are available for reference. Life drawing is a problem-solving exercise that challenges the artist to mimic proportions according to the size variable. The fundamentals taught here work as tools for future artistic endeavors carrying over into other mediums including pastel, watercolor, and acrylic painting.

The drawing of geometric shapes is a large part of the initial development of artistic technique. Shapes are applied when blocking out areas of any drawing. Look closely and you can see a wide array of shapes within each drawing. Shapes are the foundation of drawing not only living figures but still life and landscape drawings and paintings.

Any subject can be broken down into simple shapes. This is the basis for sketching. It is best to begin your pencil sketch very lightly so that the initial structure of lines can be erased later. When studying a reference, look first for the general shapes that make up its outline. Once the basic shapes are arranged and sized correctly, begin to soften lines and angles to better match the reference. As detail is added to the rendering, the drawing will come to life.

Shading is the next step in life drawing class. Light to dark shading determines the value of particular areas of the drawing. The intensity of light on a given area of life or object is the means by which we determine its dimensions.

When creating dimension, flat shapes can be made to appear solid simply by adding shadows and highlights. All 3-dimensional objects cast shadows and reflect light based on the intensity and direction of the light source. In pencil drawings, highlights are generally depicted by the white of the paper, and shadows by the deep grays of the pencil lead. The use of a full range of gray tones will create depth and interest in the drawing.

Shading techniques consist of classic shading, hatching, crosshatching, and stippling. Keeping the pencil sharp will ensure uniformity while executing these techniques.

Classic Shading: Parallel lines are set at a 45-degree angle to the bottom of the page. The closer they are drawn, the darker the value of the shadow will become.

Hatching: Lines that are drawn near one another to create an area of shadow. The concentration of lines determines the darkness of the area.

Crosshatching: Lines that are drawn parallel to one another and then have a second set of lines drawn at an angle across the first set. The higher the concentration of marks; the darker the area will appear. There are many types of crosshatching depending on the number and shape of lines.

Stippling: The grouping of dots to create a shaded area. A higher concentration of dots will create a darker shadow.

Moving into Perspective and Distance

Depicting any object or location accurately requires placing the elements properly within their surroundings. It is important that the artist consider how people perceive distance, size, and direction of movement. These are the pieces that help determine the proper perspective. Perspective drawings have what is called a horizon line. This is usually considered the visual point that the viewer is seeing in the distance from his eye level. A horizon line, whether visually there or not is necessary to create perspective in a picture. One Point Perspective drawing means that the picture has a single vanishing point and lines remain parallel to one another. All lines leading toward the horizon should converge at this single point. This point usually falls opposite the viewer's eye on or just above the horizon line.

IDEAL FACIAL PROPORTIONS

Learning to draw a properly-proportioned face can be overwhelming, and no two faces are really the same. However, learning the ideal facial proportions can help you understand where the elements of the face should generally be placed, and this will get rid of much of the uncertainty and make tackling the faceless intimidating.

There are several different approaches to plotting out the facial structure, and the one we will be discussing is one of the easier to understand methods. Follow the steps outlined below, keeping your guidelines light so that they can be erased later:
9MusesArtCenter
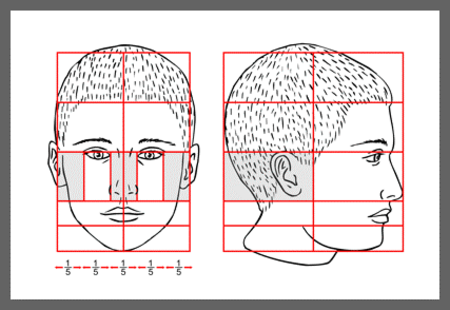
  • 1 Draw a vertical line down the center of your paper. This line should be 8 inches long. This line determines where the center of the face will be, and also gives us a top and bottom point.
  • 2 Draw a horizontal line that cuts across the vertical line at the halfway point (4 inches down). This second line should be 5 inches long total, with 2.5 inches on either side of the vertical line. This is the line our eyes will be placed on.
  • 3 Draw an ellipse (egg shape) whose edges touch the ends of both lines you've drawn so far. This egg shape should be slightly pointed toward the bottom and rounded on the top. This will be the basic shape of your face.
  • 4 Draw two more horizontal lines, one two inches above the eye line (this will indicate the hairline) and one two inches below the eye line (this will be where the nose rests).
  • 5 Divide your eye line into 5 equal segments (since your line is 5 inches long, make a mark at every inch). The eyes will be drawn in the second and fourth segments (see diagram).
  • 1
  • 2
  • 3
  • 4
  • 5
  • 6 Draw two vertical lines. Each should begin at the inside of each eye and end on your nose line. These lines will determine the width of your nose.
  • 7 The placement of the mouth is somewhat tricky. First, drawing a line down from each pupil can show you where the edges of the mouth should be. When placing the mouth itself, here are two approaches:

a) divide the space between the nose line and the chin (bottom of your face) horizontally into thirds. The place where the lips meet should fall on the first line below the nose line.

b) or draw a line halfway between the nose line and the bottom of your face. The very bottom of the lower lip should touch this line. The ears should be placed on the outside of the face, between the eye line and the nose line.

If you would like to learn more about life drawing, come in and see us. This is just one of the fine arts classes taught at 9Muses Art Center. Classes are taught by professionally trained staff. Sign up today.